
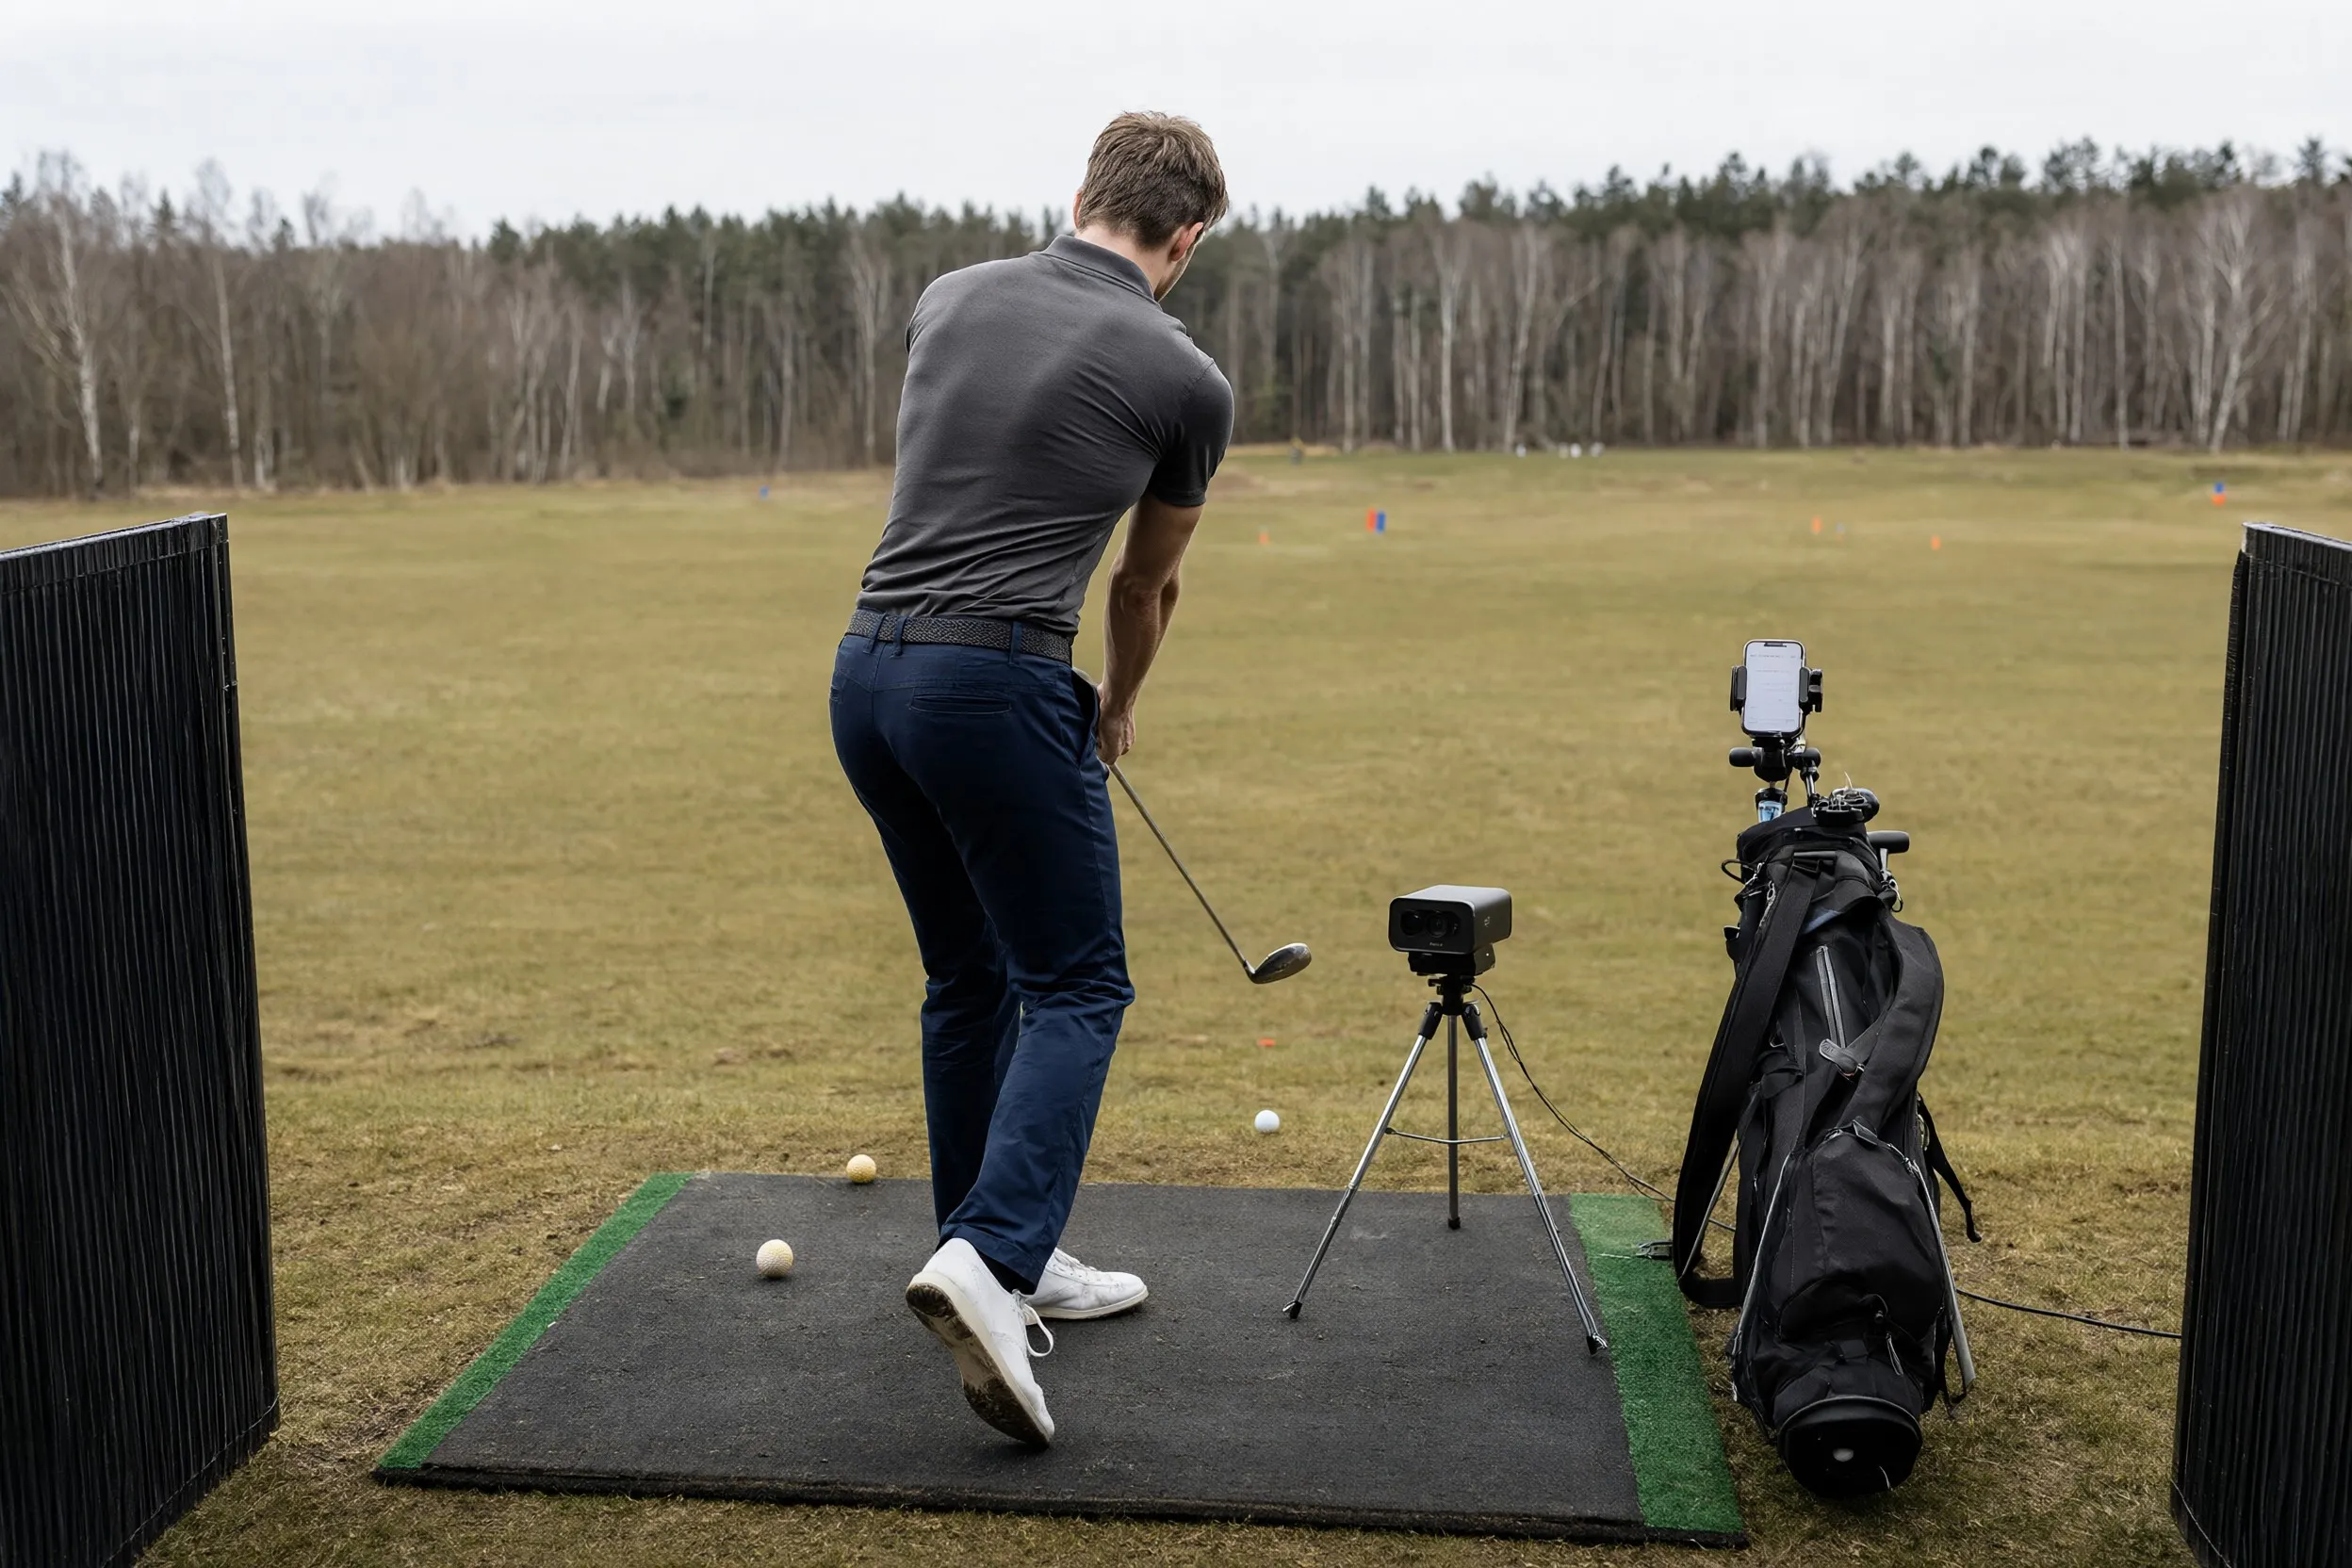
Launch monitors have moved from tour vans to garages, spare bedrooms and local golf studios, and for good reason: they turn feel into facts. But access to data has created a new problem. Golfers stare at screens full of numbers — clubhead speed, smash factor, spin, launch, apex, carry — and walk away knowing less about their swing than when they started. The device does not make you better; the questions you ask it do. Practising with a launch monitor is a skill in itself, and once you learn which numbers matter, which to ignore and how to run a proper session, the data becomes the most honest coach you have ever had.
At its core, a launch monitor tracks what happens in the instant the club meets the ball: how fast the club is moving, how efficiently that speed transfers to the ball, what direction the face points and what path it travels. From those inputs, the device calculates what the ball will do — launch, spin, apex, carry, roll and total distance. Some units use camera-based photography to capture the impact directly; others use radar to follow the ball’s flight and infer the impact conditions. Both approaches produce the same headline numbers, though camera-based units generally track club data more precisely and radar units follow the ball further.
Understanding the two families of numbers is the first step toward using them well. Ball data describes the flight you see; club data describes the delivery that created it. Improving anything in the ball columns always requires changing something in the club columns — which is why the most useful launch monitor sessions are the ones where you never look at the ball flight at all.
Every launch monitor shows more data than any golfer needs, and the secret to effective sessions is radical selectivity. Four club numbers and three ball numbers cover nearly everything a player improving their game could want, and each one connects directly to a shot you hit on the course.
The metrics worth your attention, in rough order of importance:
Everything else — face-to-path relationships, dynamic loft, descent angle, hang time — has value for advanced fitting and diagnosis, but for day-to-day practice these seven tell you almost the whole story. If a metric does not change a decision you make on the golf course, it does not deserve space in your working session.
Just as important as what to watch is what to scroll past. Certain numbers seduce golfers into chasing them for reasons that have nothing to do with scoring, and each one carries a trap.
The common thread is that these numbers either measure outcomes rather than causes, or they measure noise rather than pattern. A golfer who chases them gets slower and more frustrated; a golfer who chases face, path and strike quality gets longer and straighter without even trying.
Different clubs ask different questions of the data, and using the same targets for driver and wedges leads to nonsense conclusions. The reference below gathers sensible working ranges for each category, based on typical values for a mid-handicap golfer swinging at average speeds. Use them as direction-finders, not absolutes — your body, your clubs and your conditions all shift the exact numbers.
| Club | What to watch | Healthy range for a mid-handicap golfer |
|---|---|---|
| Driver | Smash factor, launch, spin | Smash 1.44–1.50, launch 10–16°, spin 2,000–3,500 rpm |
| Fairway woods | Launch and spin | Launch 9–15°, spin 3,000–4,500 rpm |
| Hybrids and long irons | Launch and strike consistency | Launch 12–18°, spin 4,000–5,500 rpm |
| Mid irons (6–7) | Smash factor and carry gap | Smash 1.20–1.30, consistent 10-yard gaps |
| Short irons and wedges | Descent angle and spin | Steep descent, spin 8,000–11,000 rpm |
| Putter | Not applicable on most units | Practise on the green instead |
Two things stand out from these ranges. First, the driver cares about launch and spin more than any other club, which is why driver sessions reward patience and large samples. Second, the irons’ most valuable number is not distance at all but the consistency of gaps between clubs — knowing your 7 iron carries 155 and your 8 iron carries 142 is worth more on the course than one heroic 165-yard strike.
Data rewards structure, and the same 60-minute discipline that works on the range works even better in front of a screen. Without a plan, launch monitor sessions collapse into the two classic traps: chasing a single magical drive, or mindlessly hitting until the battery dies. A simple session architecture keeps you honest.
Start with calibration. Hit ten comfortable wedges just to wake up your body and let the device settle — units vary in how they read clubs, and your first few shots are always the least reliable. Then establish your baseline: twenty real shots with the club in question, recording the median values rather than the best ones. That baseline is your reference point for the rest of the session and for future weeks.
The working block is where change happens. Pick one input to move — face angle, path, strike height — and give it sets of ten shots with pauses between them. Watch the club data, not the flight, and only evaluate what you see after the full set is complete. Between sets, write down the median values, because comparison across sets is where trends become visible and where improvement actually announces itself.
Finish with a skills test under mild pressure: five drives into a narrow window, or ten approaches to a target, with the numbers recorded. The final score becomes your benchmark, and beating it next session is the only proof that matters.
One of the launch monitor’s greatest gifts is the ability to run honest experiments. Golfers change grips, shafts, settings and swing thoughts constantly based on feel or advertising; the monitor lets you test whether the change actually did anything. The discipline lies in how you test, because sloppy experiments produce confident nonsense.
A credible test follows a few simple rules:
This discipline costs nothing except patience, and it saves enormous amounts of wasted practice. The same protocol applies to swing thoughts: if “keep your back to the target” genuinely reduces your face-to-path spread over two sessions, it earns a place in your game; if it only produced three beautiful drives and forty mediocre ones, discard it without guilt.
Certain patterns show up in nearly every golfer’s first months with a launch monitor, and they all lead to the same place: frustration and data that tells you nothing. Spotting these in your own sessions early makes the device feel like a partner rather than an exam.
The remedy for every one of these is the same: larger samples, slower judgment and more attention to club data than ball data. The monitor rewards patience and punishes excitability, which is a decent life lesson dressed as a practice tool.
There is a real tension between what the numbers say and what your swing feels like, and pretending otherwise leads to confusion. The healthiest relationship treats data as the diagnosis and feel as the medicine: the monitor tells you what is wrong with face, path or strike, and then you search for a feel that produces the correction — verified afterwards by the numbers, not by whether the change felt good.
A practical balance looks like this: run a session where you work a specific feel for twenty shots, then check the medians. If face angle narrowed and spin dropped, the feel worked, whatever it felt like. If nothing moved, the feel was theatre. Over time you build a personal library of feel-to-result connections, and that library is worth more than any tip, because it belongs entirely to your swing.
The launch monitor will never replace a good coach, a good caddie or the feel of a well-struck shot on a cold morning. What it will do is remove the guesswork from practice: every session ends with numbers, every number points to a next step, and every next step is chosen rather than stumbled upon. That is what practising with data actually means — and it is available to anyone with a device, a plan and the patience to read the screen twice before swinging once.