
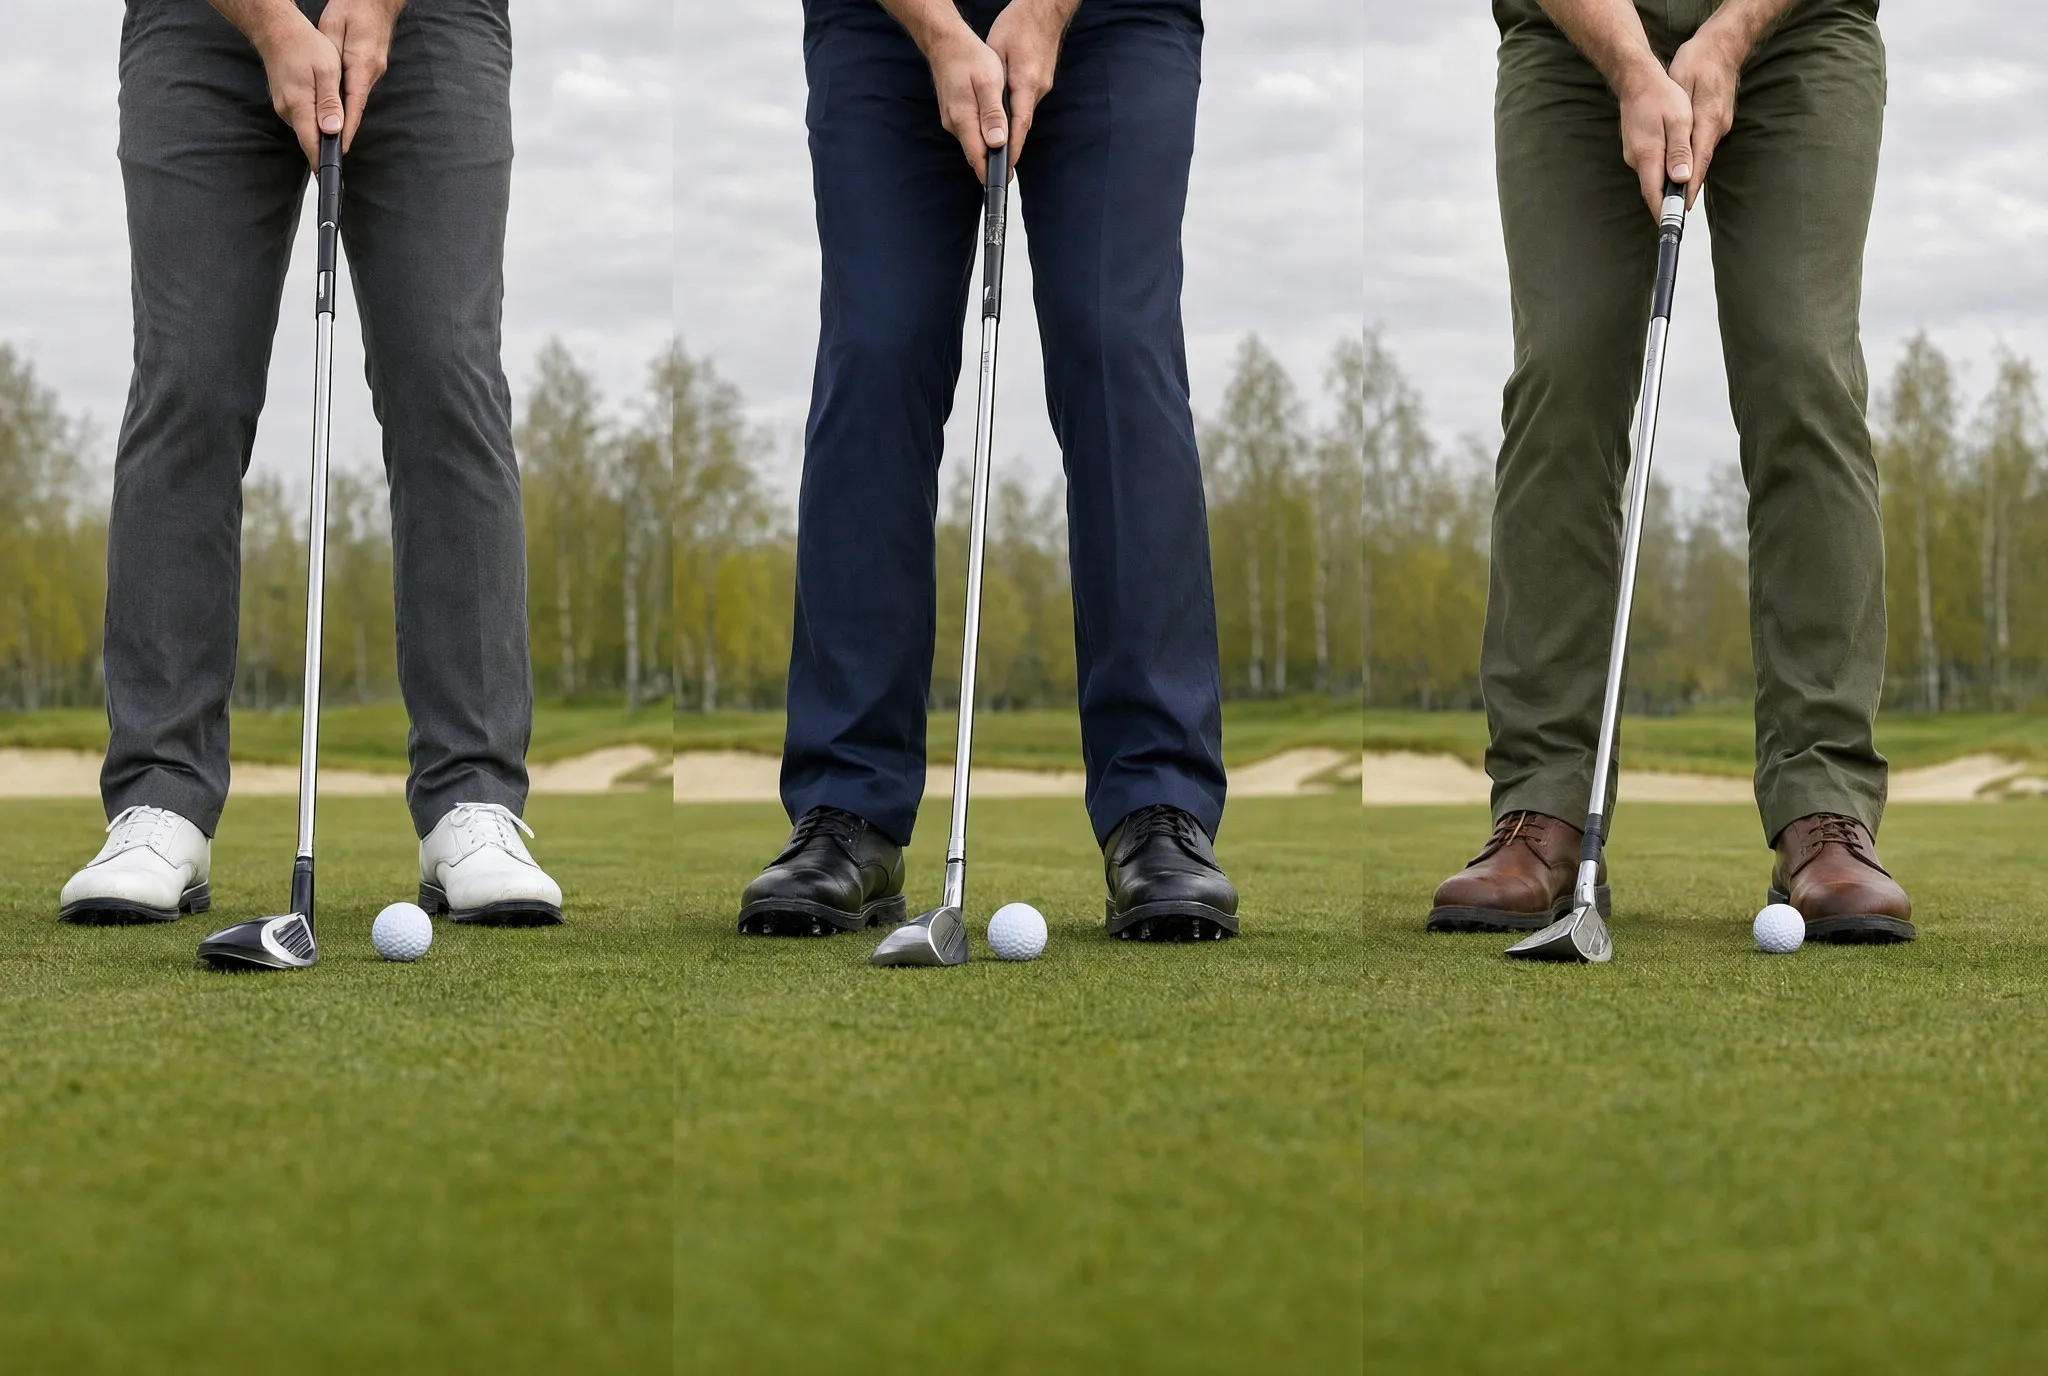
Ball position is one of the most overlooked parts of a golf setup, yet it quietly decides where the club bottoms out — and that determines whether the shot is pure, fat or thin. Two golfers with identical swings can hit completely different shots purely because the ball sits an inch or two in the wrong place. The good news is that ball position follows a simple, logical pattern across the set, and once you learn it, your contact becomes dramatically more consistent.
Every club in your bag swings on an arc. The low point of that arc sits roughly under your lead shoulder, and the club begins rising after it passes that point. Where the ball sits relative to that low point decides what kind of strike you get. Place the ball too far back and the club is still descending when it arrives, producing a low, take-away shot or a divot first. Place it too far forward and the club has already begun climbing, which can lead to heavy strikes or a weak, scooped contact.
This is why professionals treat ball position as a non-negotiable part of their routine. Amateurs often move the ball around to fix a symptom — pushing it forward to stop slicing, back to stop chunking — without realising they are changing the geometry of every swing in the process. A deliberate, repeatable position for each club removes one entire variable from the strike equation.
The easiest way to understand ball position across the set is to picture your lead heel. As the club gets longer, the ball moves forward. As it gets shorter, the ball moves back. The logic is straightforward: longer clubs need more time and space to swing on a shallower arc, so the ball must be caught earlier in the swing; shorter clubs swing steeper and faster into the ground, so the ball sits further back where the descending blow happens.
A practical checkpoint system that works for most golfers:
Keep in mind that this pattern assumes a reasonably standard swing. If your ball flight or strike pattern keeps arguing with you, the table further down will help you match your miss to an adjustment, because a small change in ball position is often the fastest fix a golfer has available.
The driver deserves special attention because it is the only club in the bag you want to hit on the upswing. Teeing the ball forward, roughly opposite your lead heel, lets the clubhead approach the ball while it is still travelling slightly upward. That upward angle of attack reduces spin, adds launch and turns into meaningful extra distance — often ten to twenty yards compared with a downward driver strike.
Common driver ball position mistakes are easy to spot at any driving range:
A good habit is to build the position into your pre-shot routine rather than eyeballing it each time. Lay your club down on the ground pointing at the target line, place the ball relative to your lead heel, then build your stance around it. Consistency here pays off in distance and in fairways hit.
Irons live in the middle ground between the sweeping driver and the digging wedges. For mid irons such as the 6, 7 and 8, a ball position one clubhead-width ahead of centre is a reliable starting point. This lets the club bottom out just after the ball, producing the ball-first contact and shallow divot that good iron play depends on.
Short irons, from the 9 iron down to the pitching wedge, sit closer to the centre of your stance. Because these clubs swing steeper, they need the low point to arrive sooner. Golfers who place short irons too far forward often complain of fat shots, heavy wedges and divots that start well behind the ball. Moving the ball back an inch frequently cures the problem instantly, without any swing changes at all.
Long irons and hybrids behave more like fairway woods. A hybrid should sit slightly forward of where you play a mid iron, and a long iron a touch behind that. The longer the club, the earlier in the arc you want to meet the ball.
Wedge play rewards precision above all else. With a full wedge swing, the ball belongs centred or slightly back of centre, which encourages a steep, controlled strike and a divot that starts at or just ahead of the ball. This position also helps you control trajectory: a ball further back produces a lower, spinnier flight, while a ball slightly forward launches it higher and softer.
As you move into partial shots — half wedges, pitches and chips — ball position continues to shift back. A standard pitch is played from the middle of the stance, while a basic chip sits off the trail instep, encouraging the descending, brushing motion that keeps the ball low and rolling. Feel around the green is partly built on these small positional choices, so it is worth experimenting in practice until each shot type has a home in your stance.
Different clubs ask for different positions, and it helps to see the whole set laid out side by side. The chart below gives starting positions you can trust on the range, along with what each position is designed to produce. Adjust from these baselines once you see your own ball flight.
| Club | Ball position relative to stance | Strike type you want |
|---|---|---|
| Driver | Off the inside of the lead heel | Slightly upward, maximum launch |
| 3 wood | Two inches behind the driver position | Shallow, level-to-slightly-down |
| Hybrids | Ahead of centre, under the lead armpit side | Shallow descending blow |
| Long irons (4–5) | One ball forward of centre | Slight descent, full follow-through |
| Mid irons (6–8) | One clubhead ahead of centre | Descending with ball-first contact |
| Short irons (9, PW) | Centre of the stance | Steep descent, divot starting at the ball |
| Wedges (SW, LW) | Centre or slightly back | Controlled, steep strike for spin |
| Chips | Off the trail instep | Descending brush, low running flight |
Treat these positions as starting points rather than laws. Swing characteristics such as an aggressive hip turn, a narrower stance or an upright swing plane can shift the ideal spot slightly for you personally. The real test is not the textbook position but the strike itself: crisp, ball-first contact with the divot in front of the ball is the goal the positions exist to serve.
Before every round, spend five minutes verifying that your ball position has not quietly drifted. It happens to everyone: one round you nudge the ball forward to fight a fade, the next you forget to move it back, and suddenly every iron feels heavy. A simple routine keeps your setup honest without much effort.
Work through this quick sequence at the practice ground before you play:
Run this check before a round or after any swing experiment, and ball position stops being a hidden variable. Consistency here is what makes one round feel identical to the next.
Most ball position faults trace back to a handful of repeatable errors, and each one leaves a telltale signature in your ball flight. Learning to read those signatures lets you diagnose yourself mid-round instead of guessing.
Watch out for these patterns:
If your misses cluster on one side of this list, you have your answer before you even reach the range. Adjust, hit a dozen easy shots, and let the turf tell you whether the change took.
Good ball position is less about memorising a chart and more about giving each club a fixed home in your stance, then trusting it. Anchoring positions to your lead heel keeps them stable as your stance widens and narrows across the set, and a quick pre-round check keeps small drifts from turning into bad habits. Once the pattern becomes automatic, you stop thinking about setup entirely and start thinking about the shot itself — which is exactly where the enjoyable part of golf lives.